


This is a topic that has always been brought to my attention and asked. I never really touched the subject until I was forced too. Revit has great built in rendering materials, but it might not have the specific stone you are looking for. Using a stone material example, here is how to create a nice custom rendering material for revit.
My program of choice is Photoshop. There are many other programs that can create this effect for you.
First, find good image of the material you are looking for. The higher the resolution and quality of the image the better. Here is my starting image:

Next, open the image in Photoshop (or whatever photo editing program you prefer). Save the image as the same name with "_Bump" at the end. You can use any name but I prefer the same file name with bump for ease of use. The objective now is to create a bump map. This uses white and black to create literally a "bump" when rendered. Giving the illusion that it is really stone.
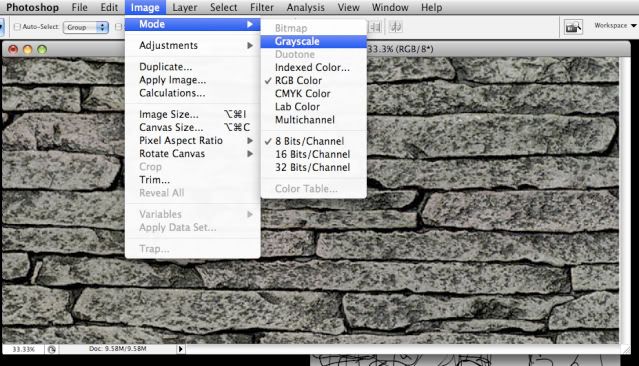
In photoshop, Grayscale the image...
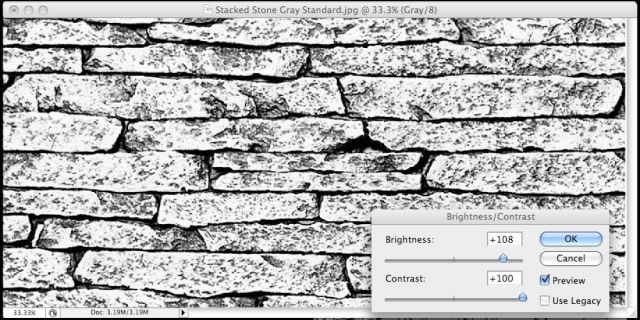
Once all of the color is removed from the image I like to adjust the contrast and brightness to really bring out the contrast between black and white. Here is the setting I used for this particular image.
Now you should have two images; The original with color, and the new bump map image that should look similar to the one below.

Finally, import and render! See video below.

